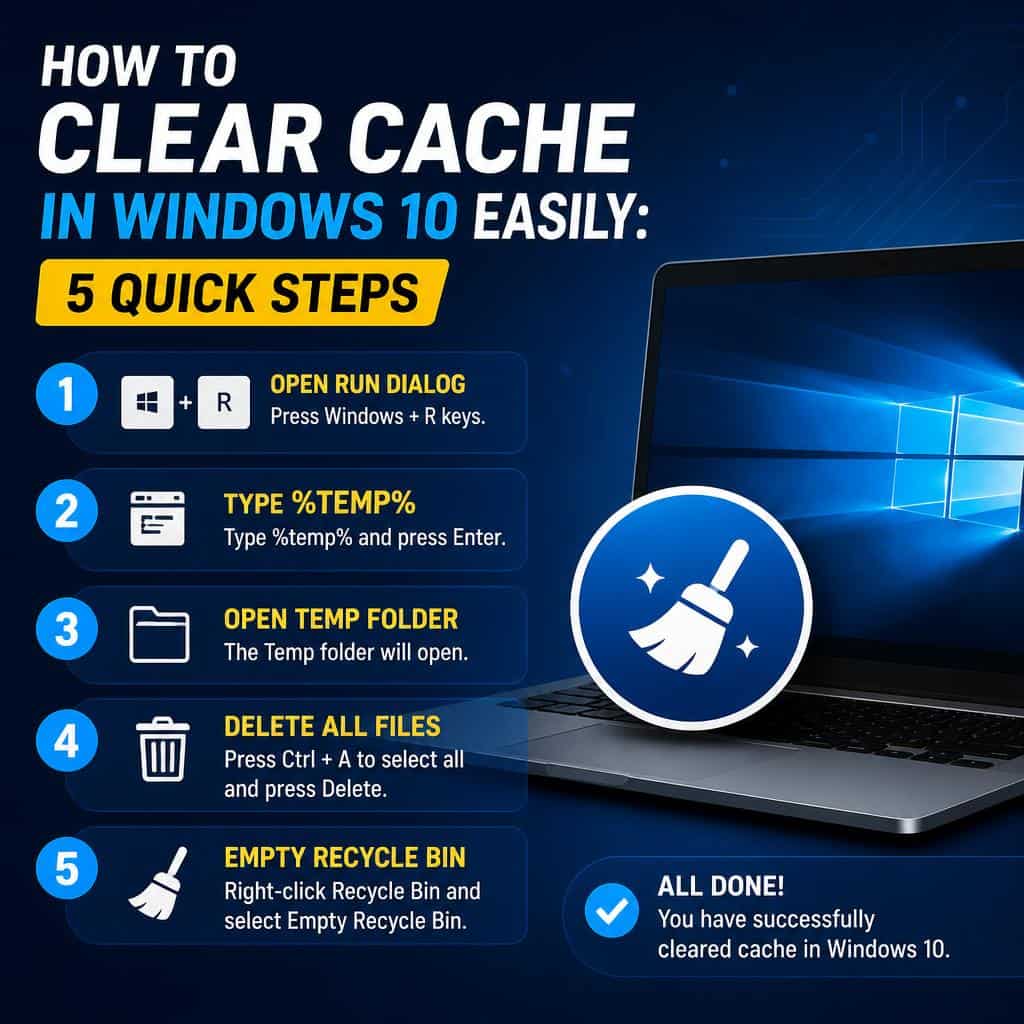
Over time, Windows 10 accumulates thousands of temporary files, residual update logs, and cached browser data. Learning how to clear cache in windows 10 allows you to reclaim valuable solid-state drive (SSD) space, eliminate random system lag, and keep your operating system running smoothly.
In this step-by-step guide, we will break down the primary reasons to clear system cache and walk you through five quick methods to clean up your PC.
Table of Contents
Why Clear Cache in Windows 10?
Temporary system files are designed to speed up apps, but outdated cache buildup often leads to performance issues:
Frees Up Storage Space: Removes gigabytes of leftover Windows Update installation files and temporary data.
Fixes System Errors: Resolves corrupted app cache issues that cause program crashes or freezing.
Improves PC Speed: Decreases drive read/write clutter, helping your desktop respond faster.
Protects Privacy: Wipes local web browser trace history, tracking cookies, and temporary internet files.
How to Clear Cache in Windows 10: 5 Quick Steps
Step 1: Clear Temporary Files via Storage Sense
Windows 10 includes an automated storage manager to clean up temporary system clutter:
Press
Win + Ito open Settings and click System.Select Storage from the left-hand navigation pane.
Click on Temporary files.
Check the items you wish to remove (such as Temporary Windows installation files, Delivery Optimization Files, and Thumbnails).
Click Remove files to execute the cleanup.
Step 2: Clear System Cache using Disk Cleanup
The built-in Disk Cleanup tool targets hidden system update archives and log files:
Press
Win + R, typecleanmgr, and hit Enter.Select your main operating system drive (usually
C:) and click OK.Click Clean up system files to re-scan with administrative privileges.
Check Windows Update Cleanup, Recycle Bin, and Temporary files.
Click OK and confirm by selecting Delete Files.
Step 3: Clear Temporary Files Folder (%temp%)
Deleting temporary files stored in user app directories resolves specific software errors:
Press
Win + Rto launch the Run dialog box.Type
%temp%and press Enter to open your local Temp folder.Press
Ctrl + Ato select all files and folders.Press
Shift + Deleteto permanently remove the files. (If Windows reports files in use, click Skip).
Step 4: Reset Windows Store Cache (WSReset)
If the Microsoft Store fails to download updates or app packages:
Press
Win + Rto open the Run command box.Type
wsreset.exeand press Enter.A blank Command Prompt window will appear for a few seconds.
Once the cache resets automatically, the Microsoft Store app will open on your desktop.
Step 5: Flush DNS Network Cache
Clearing local Domain Name System (DNS) entries resolves web connectivity errors. If you previously configured game performance settings, review our guide on windows 10 optimization for gaming.
Press the Windows key, type
cmd, right-click Command Prompt, and select Run as administrator.Type
ipconfig /flushdnsand press Enter.Confirm that the terminal displays Successfully flushed the DNS Resolver Cache.
Frequently Asked Questions (FAQs)
Q: Is it safe to clear cache in windows 10?
A: Yes, learning how to clear cache in windows 10 is completely safe. Windows automatically rebuilds required cache files as applications need them later.
Q: How often should I clear cache in windows 10?
A: Cleaning your system cache once every month or whenever your main drive runs low on free storage space is recommended for optimal performance.
Conclusion
Knowing how to clear cache in windows 10 using built-in system maintenance tools keeps your drive organized and running efficiently. Learning how to clear cache in windows 10 ensures your computer stays free from system clutter. For official storage management documentation, visit Microsoft.