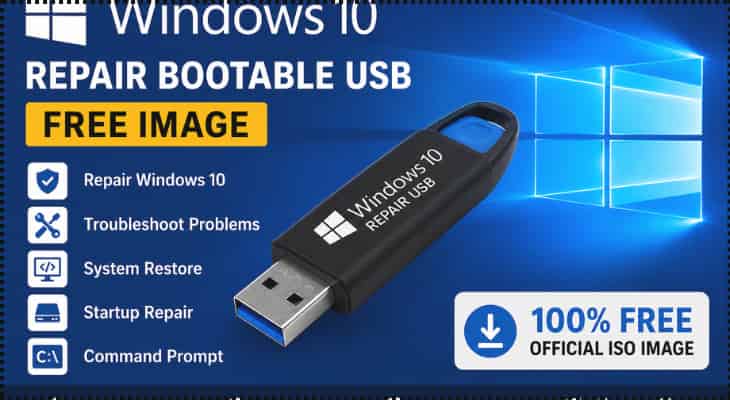
When your computer fails to boot normally and built-in repair options are inaccessible, a bootable installation media becomes your ultimate lifesaver. Learning how to fix windows 10 from usb allows you to perform startup repairs, execute command-line fixes, or even reinstall the operating system safely without losing your essential data.
In this comprehensive, step-by-step guide, we will walk you through the entire process of repairing your Windows 10 PC using a USB drive.
Table of Contents
Why Use a USB Drive to Fix Windows 10?
Relying on an external USB recovery or installation drive offers several crucial advantages:
Bypasses Corrupted Boot Sectors: Allows access to advanced recovery tools when the internal hard drive environment fails.
Comprehensive Repair Tools: Provides access to Startup Repair, System Restore, and Command Prompt utilities.
Flexible Recovery Options: Gives you the power to either repair system files or perform a clean installation if necessary.
Prerequisites Before You Start
Before diving into the fixing process, you will need:
A working second computer with an internet connection.
A blank USB flash drive with at least 8GB of storage space.
The official Microsoft Media Creation Tool downloaded to create the bootable drive.
How to Fix Windows 10 from USB: 3 Easy Methods
Method 1: Use Startup Repair via USB
The most direct way to let Windows automatically detect and resolve boot errors:
Insert your bootable Windows 10 USB into your troubled PC and restart it.
Press the boot menu key (such as F12, F11, or Esc depending on your motherboard) to select the USB drive as the primary boot device.
Once the setup window appears, select your language preferences and click Next.
Click on Repair your computer in the bottom-left corner (instead of installing now).
Navigate to Troubleshoot > Advanced options > Startup Repair and let Windows diagnose and fix startup errors automatically.

Method 2: Fix Boot Files Using Command Prompt
If automatic repair fails, you can manually rebuild the Master Boot Record (MBR) and boot configuration:
Follow the steps above to reach the Advanced options menu via your USB.
Select Command Prompt.
Type the following command and press Enter:
bootrec /fixmbrNext, type the following command and press Enter:
bootrec /fixbootFinally, type the following to rebuild your boot configuration data:
bootrec /rebuildbcdClose the command prompt and restart your computer normally.
Method 3: Perform an In-Place Upgrade or System Restore
If system files are extensively damaged:
Boot from your USB drive and select Repair your computer.
Go to Troubleshoot > Advanced options > System Restore to roll back your PC to a previous healthy state.
Alternatively, if your system boots into Windows normally using a recovery environment, run the setup from the USB to perform an upgrade repair that keeps your personal files intact. Preventing future system failures involves regular maintenance, such as checking disk health and avoiding unsafe background software. How to Fix Windows 7 Startup Problems.
Frequently Asked Questions (FAQs)
Q: Will fixing Windows from a USB delete my personal files?
A: Using Startup Repair or Command Prompt tools will not delete your files. However, choosing a full custom installation will wipe your main drive, so data backup is always recommended.
Q: How do I boot from a USB drive?
A: You need to spam your BIOS/Boot menu key (F12, F11, F8, or Del) immediately as your PC turns on, then select your USB flash drive from the boot list.
Conclusion
Mastering how to fix windows 10 from usb ensures you are never locked out of your computer permanently, even during severe system crashes. By utilizing a bootable recovery drive, you can easily repair corrupted configurations and restore system stability. For official tool downloads, visit Microsoft Support.