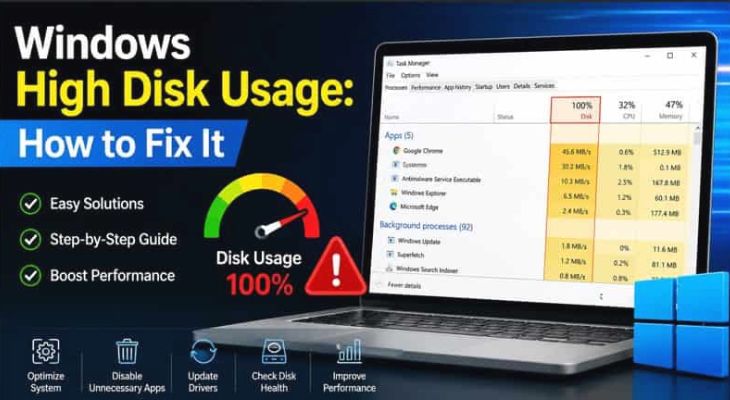
Noticing your PC freeze completely while Task Manager shows your hard drive stuck at 100% active time can be incredibly frustrating. When background services overload your storage drive, learning how to fix high disk usage in Windows 10 is essential to restore your computer’s speed and responsiveness.
In this step-by-step troubleshooting guide, we will walk you through the most effective methods to diagnose and resolve high disk usage issues on your Windows 10 PC.
Table of Contents
Why Is Your Windows 10 Disk Usage at 100%?
Before jumping into the fixes, understanding what triggers this performance bottleneck helps:
Superfetch / SysMain Service: A background preloading feature that frequently overworks mechanical HDDs and older SSDs.
Windows Update Glitches: Stuck or looping update downloads attempting to write data continuously.
Corrupted System Files: Damaged file structures forcing Windows to loop diagnostics.
Faulty Startup Services & Bloatware: Unnecessary background apps running heavy indexing tasks.
If you’re also experiencing other Windows 11 Activation Problems, check our guide on How to Make Windows 10 Run Faster
How to Fix High Disk Usage in Windows 10: 5 Easy Methods
Method 1: Disable the SysMain (Superfetch) Service
SysMain (formerly Superfetch) is a notorious culprit behind 100% disk usage:
Press
Win + R, typeservices.msc, and press Enter.Scroll down the list and look for SysMain (or Superfetch on older builds).
Right-click on it and select Properties.
Change the Startup type to Disabled, click Stop, and then click Apply and OK.
Method 2: Reset Virtual Memory (Pagefile)
Mismanaged virtual memory allocations can strain system storage loops:
Press
Win + S, type Advanced system settings, and open it.Under the Advanced tab, click Settings in the Performance section.
Go to the Advanced tab again and click Change under Virtual memory.
Uncheck Automatically manage paging file size for all drives, select No paging file, and click Set. Restart your PC, then re-enable the recommended system-managed size.
Method 3: Stop Windows Search Indexing
Windows Search continuously indexes files, which can max out disk activity:
Press
Win + R, typeservices.msc, and hit Enter.Locate Windows Search in the list.
Right-click it, select Properties, set the Startup type to Disabled, and click Stop. (Note: This stops background file indexing but leaves basic search functional).

Method 4: Perform SFC and DISM System Scans
Corrupted system files often cause diagnostic loops that spike disk utilization:
Press
Win + S, typecmd, right-click Command Prompt, and select Run as administrator.Type
sfc /scannowand press Enter.Once completed, type
DISM /Online /Cleanup-Image /RestoreHealthand hit Enter. Restart your computer.
Method 5: Update Your Drivers and Windows OS
Outdated storage controllers or BIOS firmware can conflict with Windows memory management:
Open Settings (Win + I) > Update & Security > Windows Update.
Click Check for updates and install all pending system patches.
Check your laptop or motherboard manufacturer’s website for the latest storage controller drivers.
Frequently Asked Questions (FAQs)
Q: Is 100% disk usage dangerous for my hard drive?
A: Sustained 100% disk usage causes extreme thermal and mechanical wear on traditional HDDs, and while SSDs handle it better, it heavily degrades system responsiveness and lifespan if left unaddressed.
Q: Does disabling SysMain affect overall performance?
A: No, disabling SysMain usually improves performance on systems prone to high disk usage without compromising daily application speed.
Conclusion
A sluggish system crippled by storage bottlenecks can ruin your workflow, but knowing how to fix high disk usage in Windows 10 gives you total control back. By tweaking background services, resetting virtual memory, and running system scans, your PC will run smoothly again. For additional support, visit Microsoft Support.