

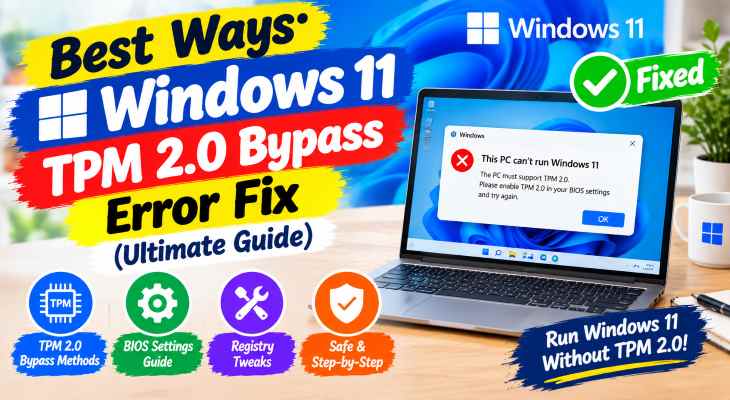
If you want to windows 11 tpm 2.0 bypass error fix, encountering the “This PC can’t run Windows 11” hardware restriction message during setup can completely halt your operating system upgrade. If you have been searching for an effective method to windows 11 tpm 2.0 bypass error fix, you are in the right place. This frustrating installation error typically occurs due to missing firmware security modules, unconfigured BIOS parameters, or unsupported older processors.
In this comprehensive guide, we will walk you through the top troubleshooting steps to bypass hardware checks and successfully install Windows 11 on unsupported computers.
Table of Contents
What Causes the Windows 11 TPM 2.0 Installation Error?
Before applying the fixes, understanding why this happens helps:
Strict Microsoft Requirements: Mandatory enforcement of TPM 2.0 chips and Secure Boot standards for modern OS deployment.
Disabled Motherboard Firmware: Built-in hardware security features turned off by default within system BIOS/UEFI settings.
Outdated Installation Media: Standard bootable USB drives carrying strict validation scripts that flag older hardware configurations.
Top Methods to Apply Windows 11 TPM 2.0 Bypass Error Fix
Method 1: Apply Registry Bypass Keys During Clean Installation
Manually adding registry workarounds bypasses the hardware check prompt mid-setup:
When you reach the screen displaying the hardware error, press
Shift + F10to open Command Prompt.Type
regeditand press Enter to open the Registry Editor.Navigate to
HKEY_LOCAL_MACHINE\SYSTEM\Setup, right-click Setup, select New > Key, and name it LabConfig.Inside LabConfig, create two DWORD (32-bit) Values named
BypassTPMCheckandBypassSecureBootCheck, setting both of their values to1.Verification: Close the registry and command windows, go back one step in the setup, and confirm the installation proceeds without the error.
Method 2: Use Rufus to Remove Hardware Requirements on USB Media
Creating a customized bootable installer permanently strips out hardware checks:
Download the official Windows 11 ISO file and the latest version of Rufus.
Insert your USB flash drive, open Rufus, and select your ISO file. Click START.
In the customization prompt window that appears, check the option for “Remove requirement for 4GB+ RAM, Secure Boot and TPM 2.0”.
Verification: Boot from your newly created Rufus USB drive and verify that the setup loads past the compatibility screen smoothly.
if you’re also experiencing other Windows 10 & 11 Best Ways: Fix Windows 11 Gaming Stuttering & FPS Drop
Method 3: Enable fTPM or Intel PTT in BIOS Settings
Enabling native motherboard security features resolves the issue without workarounds:
Restart your PC and repeatedly press your BIOS key (
Del,F2, orF12).Go to the Security or Advanced tab and locate AMD fTPM or Intel Platform Trust Technology (PTT).
Change its status from Disabled to Enabled, save changes, and exit (
F10).Verification: Re-run your Windows 11 setup to check if the system now natively detects compatibility.
Frequently Asked Questions (FAQs)
Q: Is it safe to bypass TPM 2.0 when installing Windows 11?
A: Yes, millions of users run Windows 11 on unsupported hardware using these bypass methods, though future major updates may require manual installation workarounds.
Q: Will bypassing TPM 2.0 delete my personal files?
A: If you perform a clean installation using a modified USB, it will wipe your drive, so always back up your important data beforehand.
Conclusion
Keeping your system installation path open ensures you can easily transition to modern operating system environments. By mastering these techniques to windows 11 tpm 2.0 bypass error fix, you can overcome hardware roadblocks and complete your PC upgrade.
Important Note:
Always back up critical data to an external storage drive before modifying system registries or executing custom bootable installations.
Final Thoughts on Hardware Compatibility and OS Deployment
To wrap it up, maintaining a fully flexible installation workflow is crucial for managing diverse machine configurations and software upgrades. By proactively applying registry modifications or utilizing customized bootable media, you protect your setup process against unexpected compatibility restrictions and maintain maximum digital efficiency. Always keep regular backups of your important configuration files before executing deep system modifications or registry edits. Staying proactive with modern diagnostic tools guarantees long-term digital efficiency and peace of mind.